

How to Install Attenuation Crates for SuDS: A Guide
by Builders Yard Team
If you’re looking to manage stormwater on your property while meeting Sustainable Drainage Systems (SuDS) requirements in the UK, attenuation crates are a fantastic solution. At Builders Yard UK, we’ve helped countless homeowners, schools, and developers install these systems to prevent flooding and comply with local regulations. For example, whether you’re a DIY enthusiast or a professional contractor, this step-by-step guide will walk you through how to install attenuation crates the right way—saving you time, money, and headaches.
Why Install Attenuation Crates for SuDS?
Attenuation crates are underground storage systems that hold excess rainwater during heavy storms and release it slowly, preventing flooding and reducing pressure on local drainage systems. In fact, they’re a key part of SuDS, which the UK government promotes under the Flood and Water Management Act 2010 to manage stormwater sustainably. For instance, from schools in Leeds to rural homes in Cornwall, our customers have used our “Select Attenuation Crates” to tackle flooding issues while meeting council requirements. Therefore, if you’re ready to get started, let’s dive in.
What You’ll Need for Attenuation Crates Installation
Before you begin, gather these tools and materials:
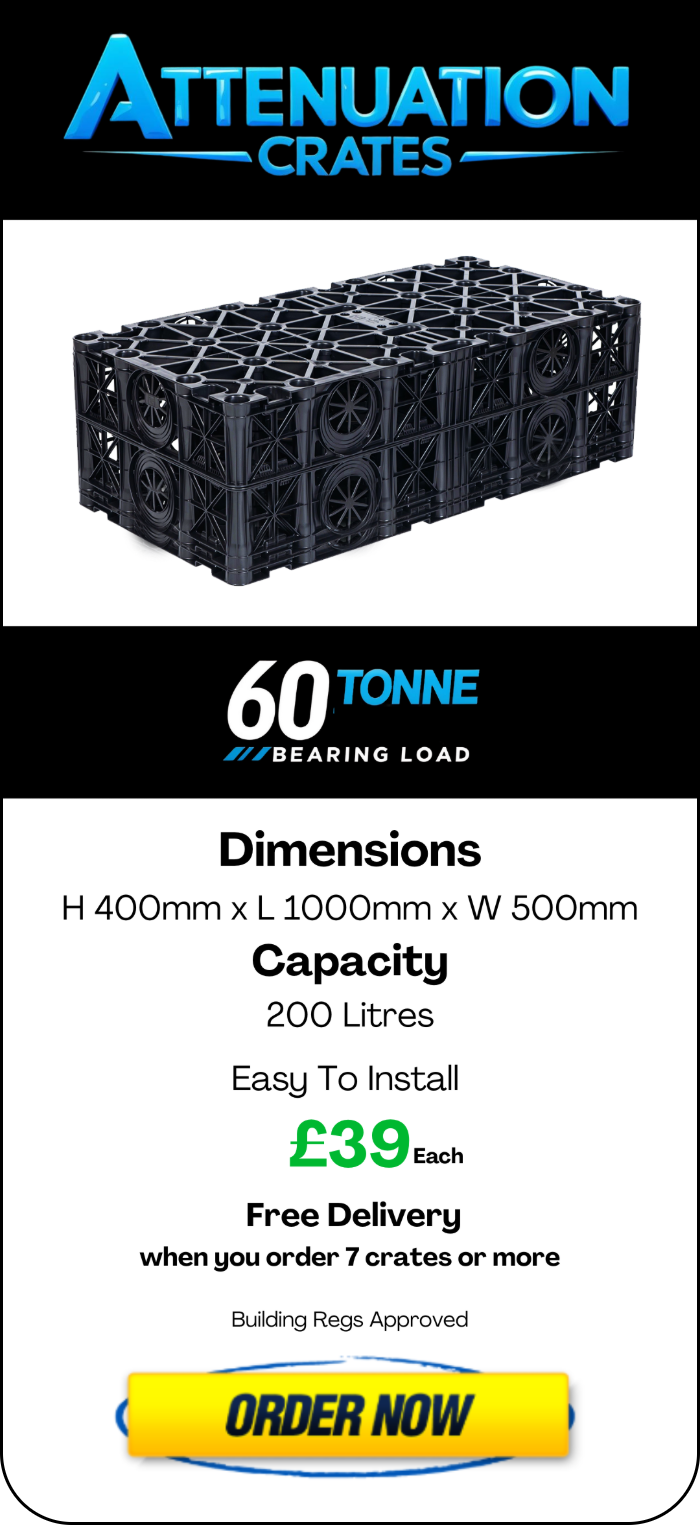
- Attenuation Crates: We recommend our “Select Attenuation Crates” (400 kN/m², 95% void ratio)—available at Builders Yard UK.
- Tools: A spade or shovel, tape measure, spirit level, and gloves (for handling soil and crates).
- Materials: Permeable geotextile membrane (to wrap the crates), gravel or sand (for backfill), and a bacteria booster (optional, to kickstart decomposition).
- Safety Gear: Work boots, safety glasses—digging can get messy!
Pro tip: Check your local council’s SuDS guidelines (e.g., Leeds City Council) to ensure your installation meets regulations. For example, you can find more details on the UK government’s Department for Environment, Food & Rural Affairs (DEFRA) website.
Step 1: Plan Your Attenuation Crates Installation
Planning is key to a successful installation of attenuation crates. Here’s what to do:
- Assess Your Site: Walk your property during a rain to see where water pools. For instance, low-lying areas or spots near downpipes are ideal for attenuation crates.
- Check Soil Type: Sandy soil drains better, but clay soil may need a larger system or deeper dig. If unsure, test drainage by digging a small hole, filling it with water, and timing how long it takes to drain.
- Calculate Crate Volume: Measure the area you want to protect (e.g., a 50m² playground). For every 1m², you’ll need about 0.3m³ of storage for a typical UK storm. For example, for 50m², that’s 15m³—roughly 10 of our 400 kN/m² crates (each crate holds ~1.5m³).
- Check for Utilities: Call your local utility provider to ensure you’re not digging near pipes or cables. Safety first!
Step 2: Dig the Hole for Your Attenuation Crates
Now it’s time to get your hands dirty:
- Mark the Area: Outline a rectangular area for your crates (e.g., 5m x 10m for 50m²). Use string and stakes to keep it neat.
- Dig to Depth: For most installations, dig 1m deep to accommodate the crates (typically 0.5m tall) plus a 0.5m gravel base and top layer. However, if you’re in clay soil, go 1.2m deep for better drainage.
- Level the Base: Use a spirit level to ensure the bottom is flat—uneven bases can cause crates to shift over time.
Step 3: Prepare the Base for Attenuation Crates
A solid base ensures your system lasts for decades:
- Add Gravel: Spread a 0.2m layer of gravel or sand at the bottom to aid drainage and provide a stable base.
- Lay Geotextile Membrane: Line the hole with a permeable geotextile membrane to prevent soil from clogging the crates while allowing water to flow through. Leave enough to wrap over the top later.
Step 4: Install the Attenuation Crates for SuDS
Here’s where the magic happens:
- Place the Crates: Lower your attenuation crates into the hole, starting at one corner. For example, our “Select Attenuation Crates” clip together easily—align them tightly to maximize storage.
- Connect Pipes: Attach inlet and outlet pipes (e.g., from a downpipe or surface drain) to channel water into the crates and out to a drainage system. Use a vent pipe if required by your council.
- Wrap with Membrane: Fold the geotextile membrane over the top of the crates to fully encase them, keeping soil out.
Step 5: Backfill and Finish
You’re almost done:
- Backfill with Gravel: Add a 0.3m layer of gravel over the crates to protect them and aid drainage.
- Top with Soil: Fill the remaining space with soil, compacting it as you go to prevent settling. For instance, if installing under a playground or car park, add a final layer of permeable paving or grass.
- Test the System: Pour water into the inlet pipe (or wait for rain) to ensure it flows into the crates and drains slowly—no leaks or pooling.
Watch Out For
- Avoid Overloading: Don’t place heavy machinery directly on top—our crates handle 400 kN/m², but excessive weight can cause damage.
- Check Regulations: Some councils (e.g., Leeds City Council) require a maintenance plan for SuDS systems—keep records of your installation.
- Monitor Drainage: If water doesn’t drain after heavy rain, you may need more crates or a deeper dig. Consequently, contact us at Builders Yard UK for advice!
Why Choose Builders Yard UK for Attenuation Crates?
Our “Select Attenuation Crates” are built to last, with a 50-year lifespan and eco-friendly recycled plastic construction. Priced competitively (starting at £50 per unit with free UK delivery), they’re a top choice for SuDS projects. Moreover, our team is here to help with sizing, installation tips, and compliance questions. Check out our recent project at a Leeds primary school to see how our crates stopped flooding in its tracks.
Learn More About SuDS and Stormwater Management
Want to dive deeper into SuDS compliance and stormwater solutions? Explore these resources:
- DEFRA’s Sustainable Drainage Systems Guidance – Official UK SuDS regulations.
- Susdrain: SuDS Installation Best Practices – Expert advice on sustainable drainage.
- CIRIA: SuDS Manual – Comprehensive SuDS design guide.
Ready to install your own attenuation crates? Visit our Attenuation Crates page to explore our range, or check out our shop to order today. Let’s work together to keep your property flood-free with Builders Yard UK!